原来是通过http认证的方式来完成ACME 的 Identifier Validation Challenges,但是内网的机器就无法完成这个认证,今天看了下,LE支持dns认证了,所以实践了一下。
安装
首先安装Certbot,按照官网操作即可: https://certbot.eff.org/instructions。
生成证书
然后执行
1
2
3
| certbot -d ssl-test.robberphex.com \
--manual --preferred-challenges \
dns certonly
|
对于MacOS用户来说,可以执行
1
2
3
4
5
| certbot --config-dir /usr/local/etc/letsencrypt \
--logs-dir /usr/local/var/log/letsencrypt \
--work-dir /usr/local/var/lib/letsencrypt \
-d ssl-test.robberphex.com \
--manual --preferred-challenges dns certonly
|
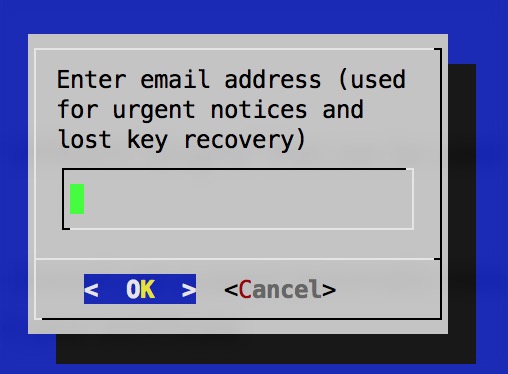
- 需要输入邮箱

- 同意用户协议

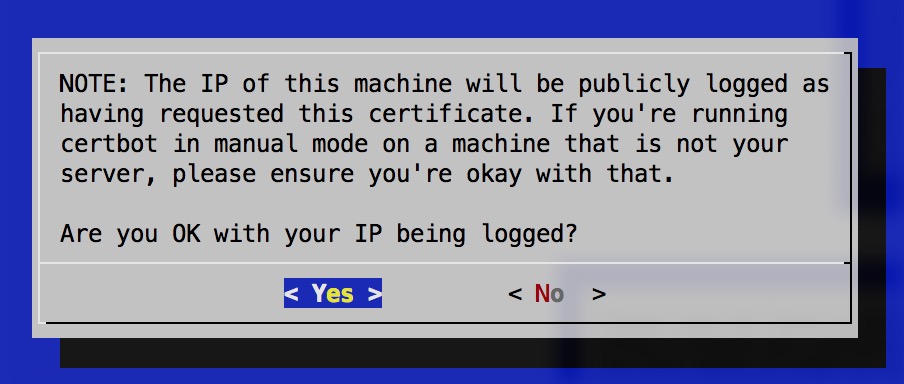
- 同意记录IP

- 设置域名的TXT记录
 比如图中,设置
_acme-challenge.ssl-test.robberphex.com的TXT记录为x-P6A_dQ4_ggZtPvX_bOUeaY7hSM_IS6o-Gzj3h7LBw,然后回车。
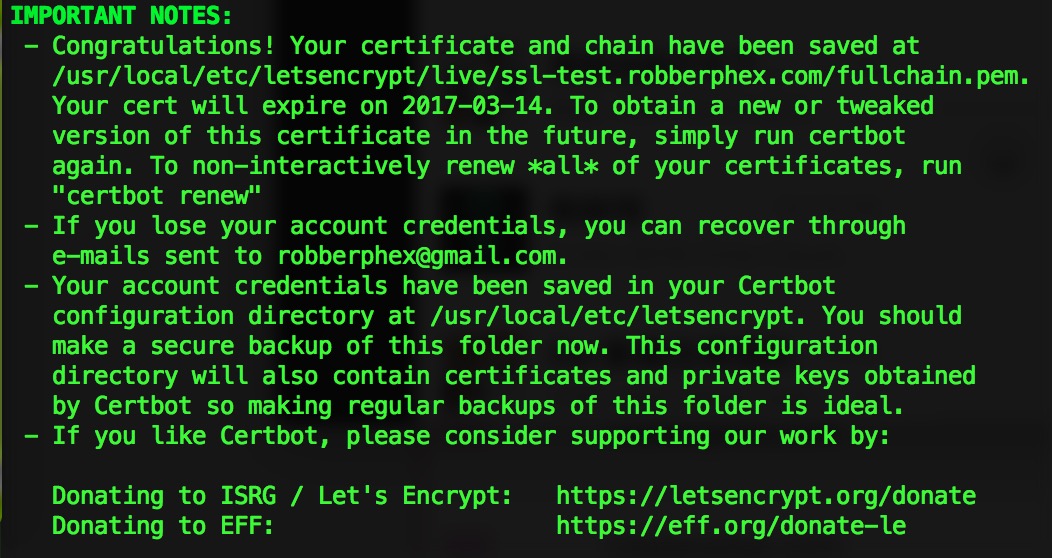
- 提示证书生成成功

配置
我们来一个最简版的配置:
1
2
3
4
5
6
7
8
9
10
11
12
| server {
listen 8443 ssl;
server_name ssl-test.robberphex.com;
ssl_certificate /usr/local/etc/letsencrypt/live/ssl-test.robberphex.com/fullchain.pem;
ssl_certificate_key /usr/local/etc/letsencrypt/live/ssl-test.robberphex.com/privkey.pem;
location / {
default_type "text/plain";
return 200 "pong";
}
}
|
验证
curl测试(不需要设置DNS):
1
2
3
4
5
6
7
8
9
10
| $ curl -i --resolve ssl-test.robberphex.com:8443:127.0.0.1 \
https://ssl-test.robberphex.com:8443/
HTTP/1.1 200 OK
Server: nginx/1.10.2
Date: Wed, 14 Dec 2016 07:33:41 GMT
Content-Type: text/plain
Content-Length: 4
Connection: keep-alive
pong
|
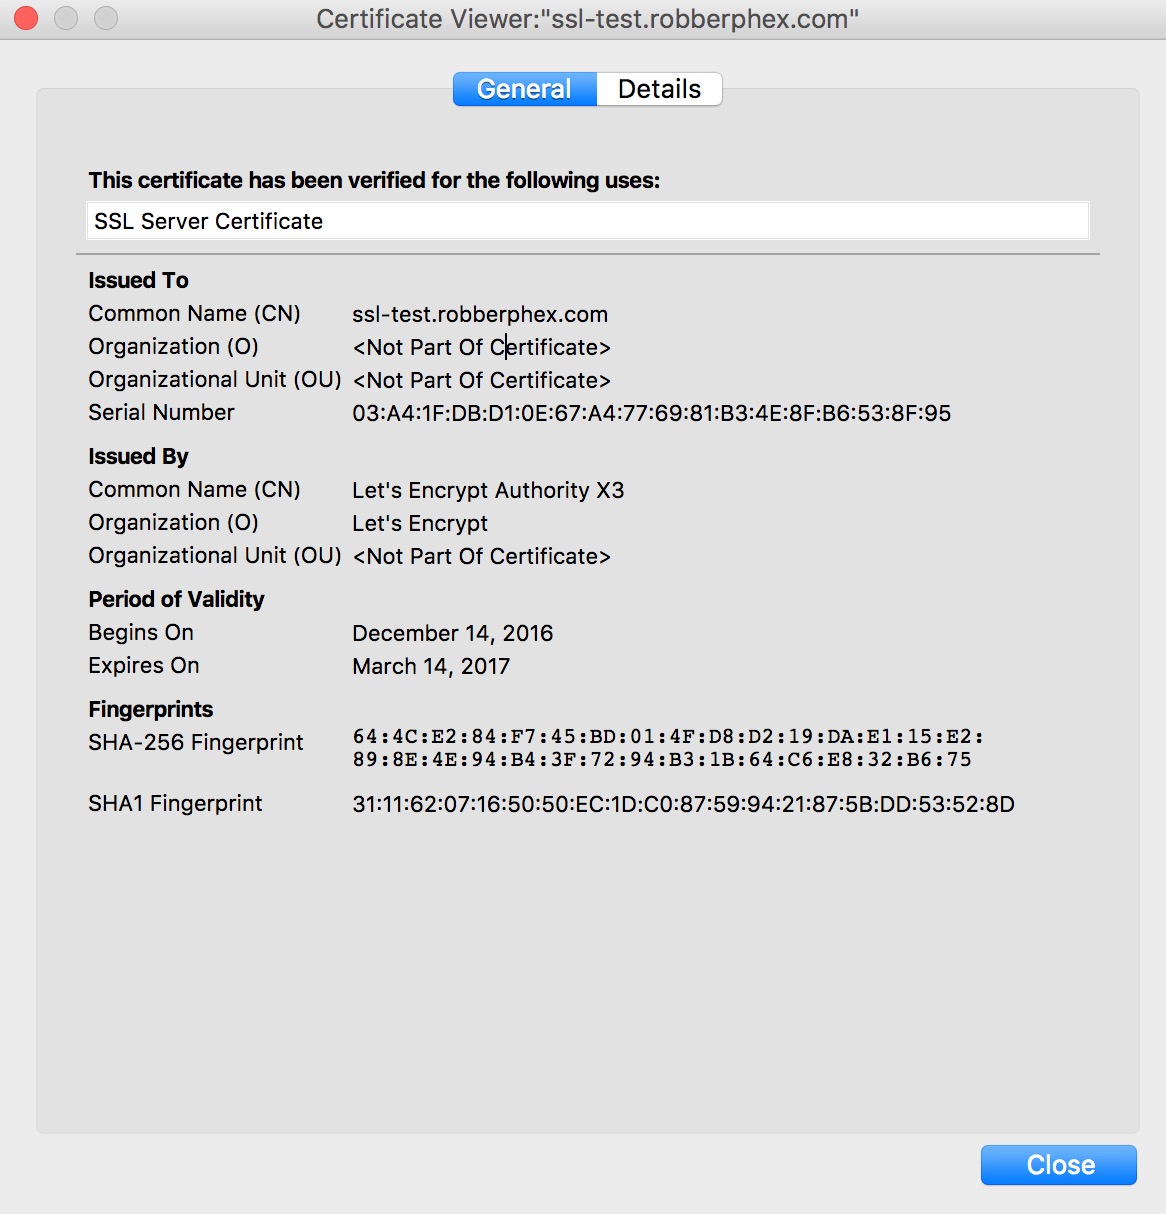
浏览器测试(需要设置DNS或者hosts文件):


参考资料 http://serverfault.com/a/812038/239044


 比如图中,设置

